Properly priming your vape coil is essential for a smooth vaping experience. It prevents dry hits, extends coil lifespan, and enhances flavour. If you're new to vaping, this guide will walk you through the correct process to ensure optimal performance from your device.
What is Coil Priming?
Priming a vape coil means pre-saturating the wick with e-liquid before using it. This step ensures that the cotton is fully soaked, preventing burnt hits and maximising coil longevity.
Why is it Important?
Prevents dry or burnt hits
Enhances flavour and vapour production
Increases coil lifespan
Step-by-Step Guide to Priming Your Vape Coil
Step 1: Gather Your Supplies
You will need:
A new vape coil
Your favourite e-liquid
A paper towel
Step 2: Saturate the Coil
1. Remove the coil from its packaging and check for defects.
2. Locate the cotton wick holes.
3. Apply a few drops of e-liquid onto each exposed cotton section.
4. Let it sit for 10-15 minutes to fully absorb the liquid.
Step 3: Install the Coil
1. Securely place the primed coil into your vape tank.
2. Fill your tank with e-liquid, avoiding overfilling.
Step 4: Break in the Coil
1. Take a few puffs without pressing the fire button.
2. Start vaping at a lower wattage and gradually increase to the recommended setting.
Common Issues & Solutions
Dry Hits? Let the coil sit longer or reduce wattage.
Burnt Taste? Ensure the coil is fully saturated and avoid excessive power
Final Tips
Allow at least 10-15 minutes for priming.
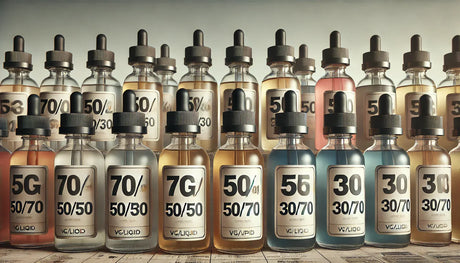
Use the correct VG/PG e-liquid ratio for your coil type.
Adjust wattage settings within the recommended range.
By following these steps, you’ll improve the performance of your vape and enjoy a smoother experience. Happy vaping!
Browse our full range of coils here